TKFX Help - Setup
Some simple configuration steps are needed to take the most out of TKFX, but don't worry: follow this guide and in a couple of minutes you will be up and running. First thing you need to do is download UBRIDGE.
Once you have installed UBRIDGE, you just need to start the application. If you are running Mac OSX no additional configuration is necessary as Mac OSX allows the creation of virtual MIDI ports and UBRIDGE will automatically create UBRIDGE Virtual. You just need to ensure they are are selected under UBRIDGE's TKFX tab.
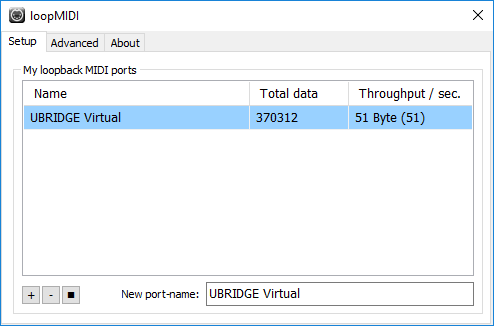
On Windows systems however, an additional virtual MIDI driver is necessary. There are several options out there but we usually recommend loopMIDI from Tobias Erichsen.
If you have chosen to use loopMIDI, after opening the application, press the plus key on the bottom right side of the window to add a new port and give it the name UBRIDGE Virtual.
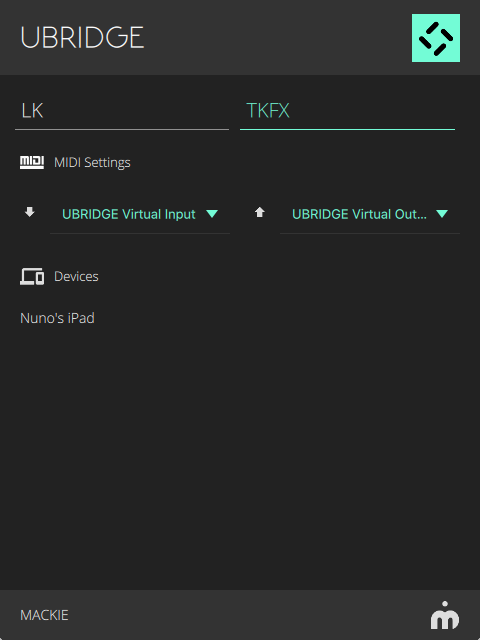
Then open UBRIDGE, and choose the new port you just created on loopMIDI as MIDI IN and MIDI OUT as seen on the picture below.
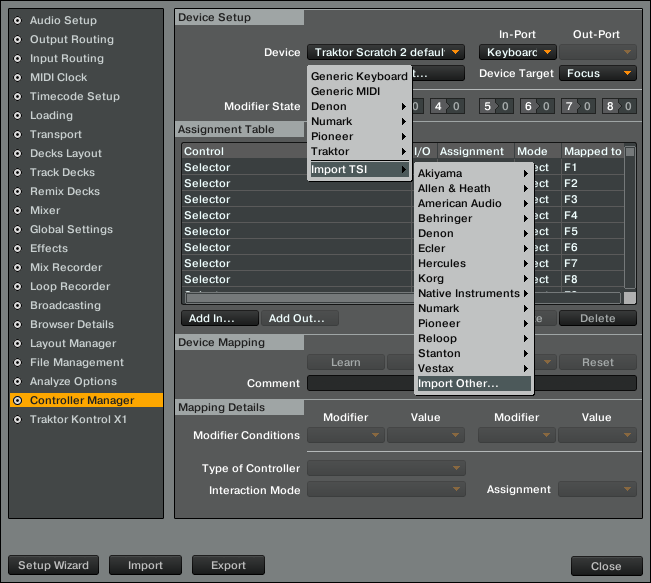
The second thing we need to do is to configure the Traktor MIDI mapping, so let’s start by downloading the free Traktor Mapping from our downloads section. Next, open Traktor preferences and select "Controller Manager", click add, choose "Import TSI" and then "Import Other...". Select the mapping file you have previously downloaded from our website. Alternatively you can simply click on the import button located at the bottom of Traktor's preferences window.
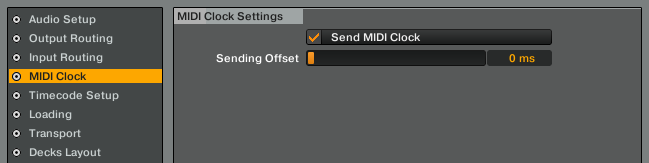
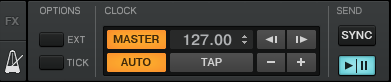
If you want TKFX to sync to Traktor’s BPM you need to configure the MIDI clock. On Traktor’s Preferences choose “MIDI Clock” and tick the "Send MIDI Clock" check box.
Close the preferences and click the Metronome symbol on the left side of the Global section to switch to Master Clock panel. Press Start/Pause button to send MIDI Clock.
We are done here. See next how to link TKFX with your computer.