FRMS Help - Overview
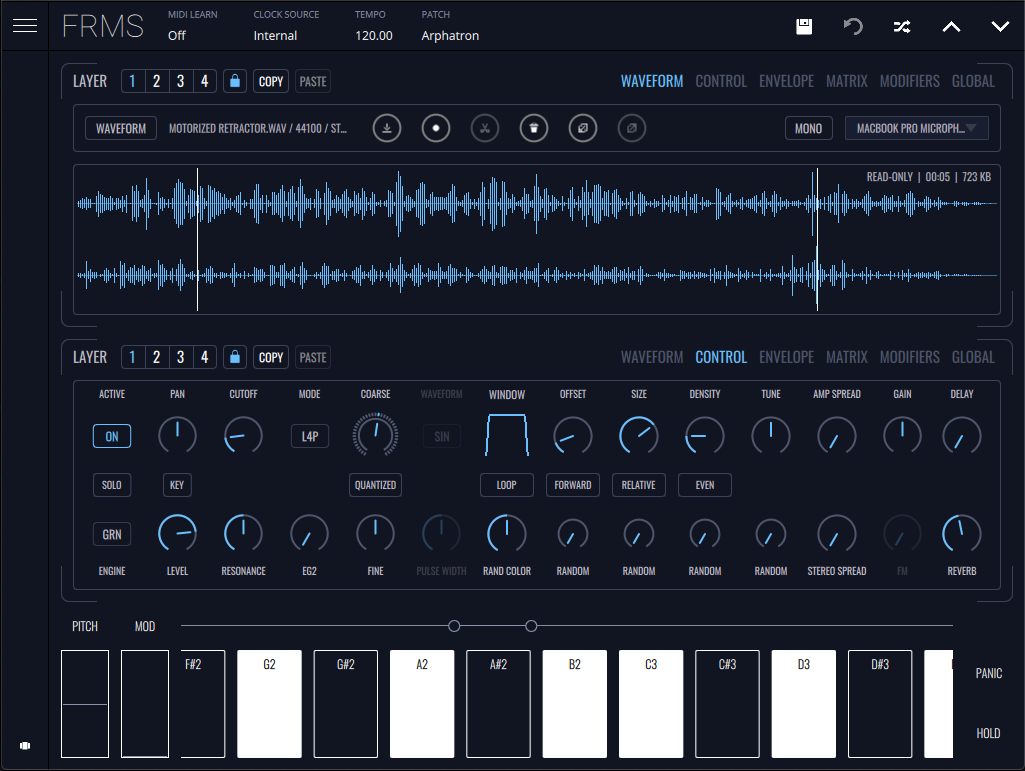
FRMS features a clean, minimal interface designed to facilitate the control of advanced concepts using a simple, efficient and easy to use layout. The main window consists of a status bar across the top, a collapsable menu down the left side, two horizontal layer panels in the center and a performance zone across the bottom. The performance zone includes two note generation methods which can be toggled between; a standard piano keys layout and a hexagonal chorder display for one-touch chords. The layer panels use several tabs for easy access to the different groups of parameters and functions. By displaying two separate layer panels simultaneously, it is possible to manage an intuitive and productive FRMS workflow, for both production and live performance.
The following features are found on FRMS's status bar:
- Midi Learn - toggle MIDI learn on and off
- Clock Source - Selection of the engine clock source. It can be internal, MIDI clock or ableton link
- Tempo - main session tempo
- Patch - indicates the currently selected patch. Tap it to open patch browser
Midi learn
The Mapping feature of FRMS allows the mapping of its parameters for remote control by a MIDI controller.
Toggle the MIDI Learn function on by tapping it and FRMS's controls will get darker. Select the control you want to map, which will then appear highlighted (if the parameter doesn't have any assignment it will be labeled as N/A).
Move the MIDI control you want to map and once a message from the MIDI Device is received, it will be mapped and displayed on FRMS. Once you are done mapping, turn MIDI Learn off and FRMS is ready to operate with the given assignments.
Tempo
The tempo setting, controls the value of FRMS's internal clock. If FRMS is being used as a plugin inside a DAW, the tempo is defined by the host.
Patch
Tapping here opens the patch browser where it is possible to navigate between the different banks of patches and select any of the available FRMS patches.
Status bar icons
On the right side of the status bar are 5 icons:
-
Disk
This opens the save patch menu where you can name/save the current patch state as either a new patch, or overwrite an existing one, in either the local or cloud bank.
-
Revert
This resets the current patch back to its original saved state. (This button is only active/available if changes have been made to a saved patch - to indicate this, an asterisk will appear to the right of the patch name.)
-
Random
When pressed this will assign a random value to each parameter.
-
Up arrow
This selects the previous patch from the list of patches in the currently selected bank.
-
Down arrow
This selects the next patch from the list of patches in the currently selected bank.